Winter Woodland Wreath
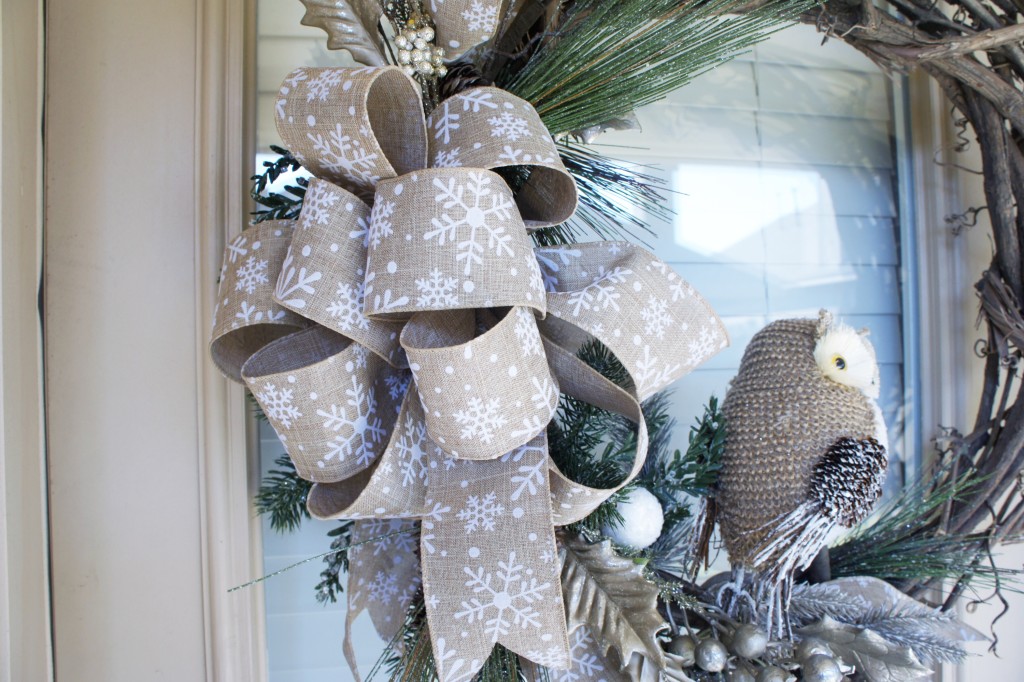
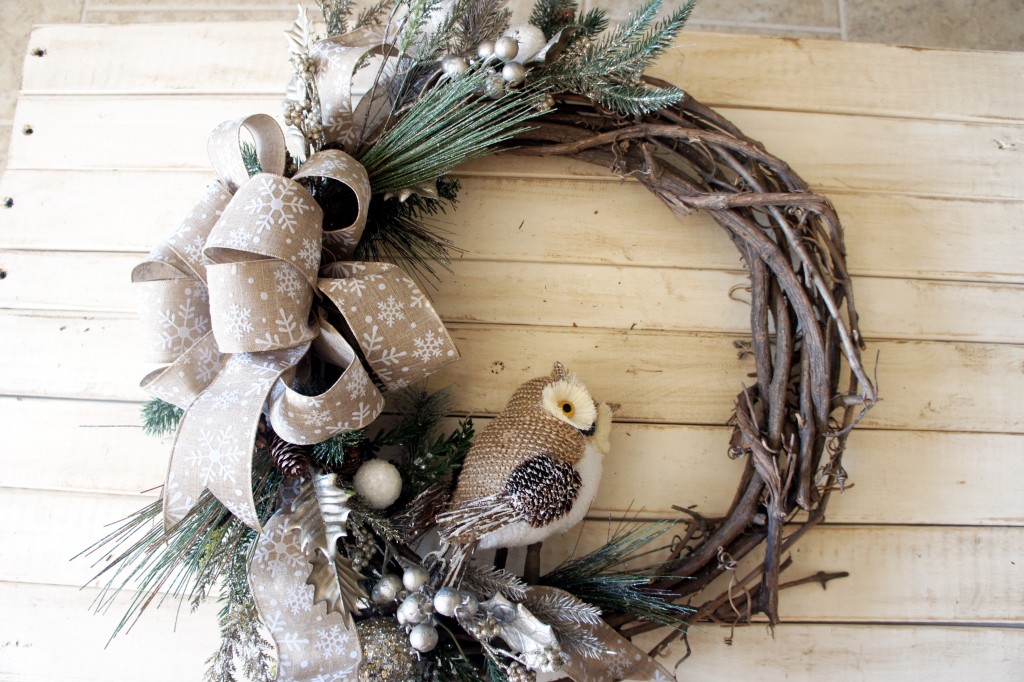
With a little help from my Mom ( a wreath making genius) I made this Winter Woodland Wreath for a friend as a Christmas present, but Icouldn’t pass up the chance to blog about it& share it with all of you!Myfavorite thing about this wreath, is that it can be used all throughoutWinter and not just during Christmas time. I show you step -by -step how to make one for yourself or to give as a gift this holiday season.
Winter Woodland Wreath
Start with a blank canvas ( or in this case a blank grapevine wreath!) You can find similar wreaths at craft stores like Michael’s Art Supply. I really loved the larger branches in this wreath. It gave it that “woodland” look, I was going for. The right side of the wreath started to unravel – I’ll show you later what we did to fix it.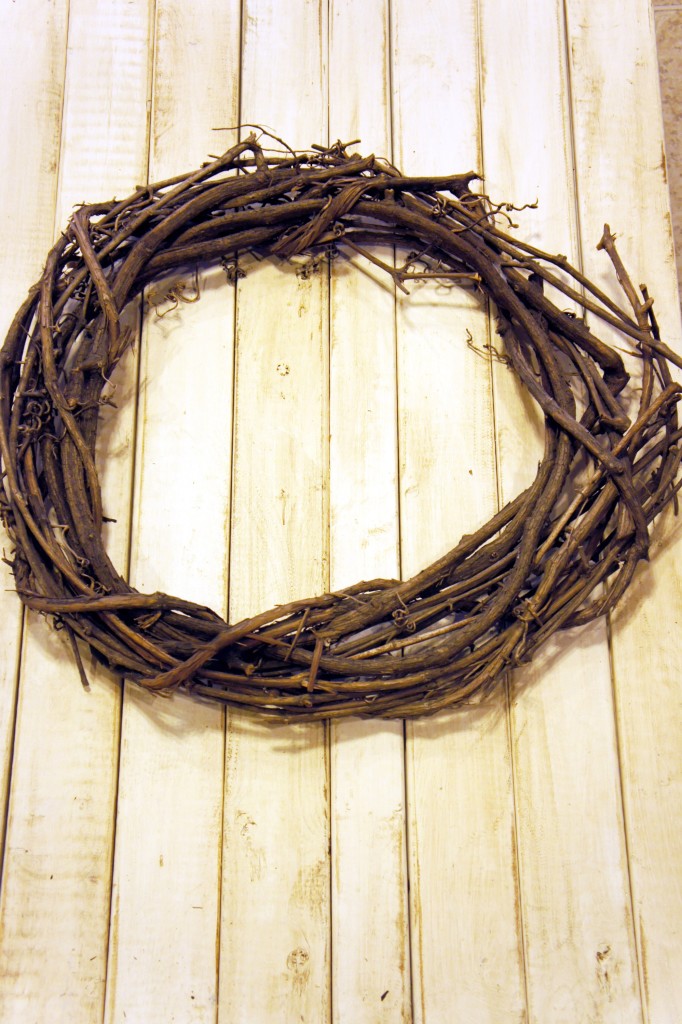
Supplies:
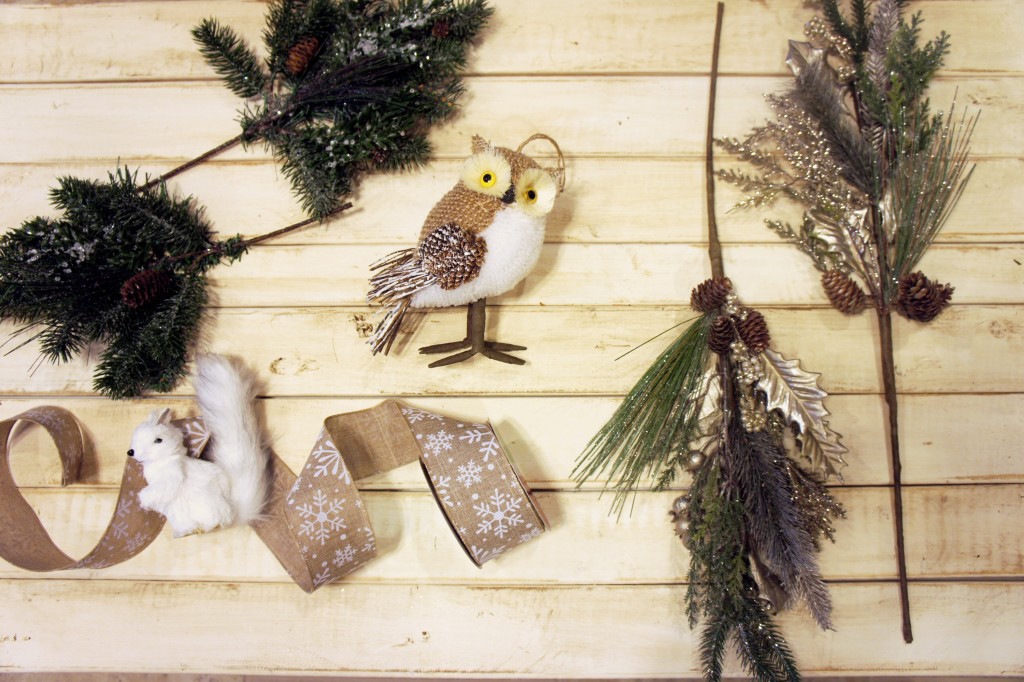
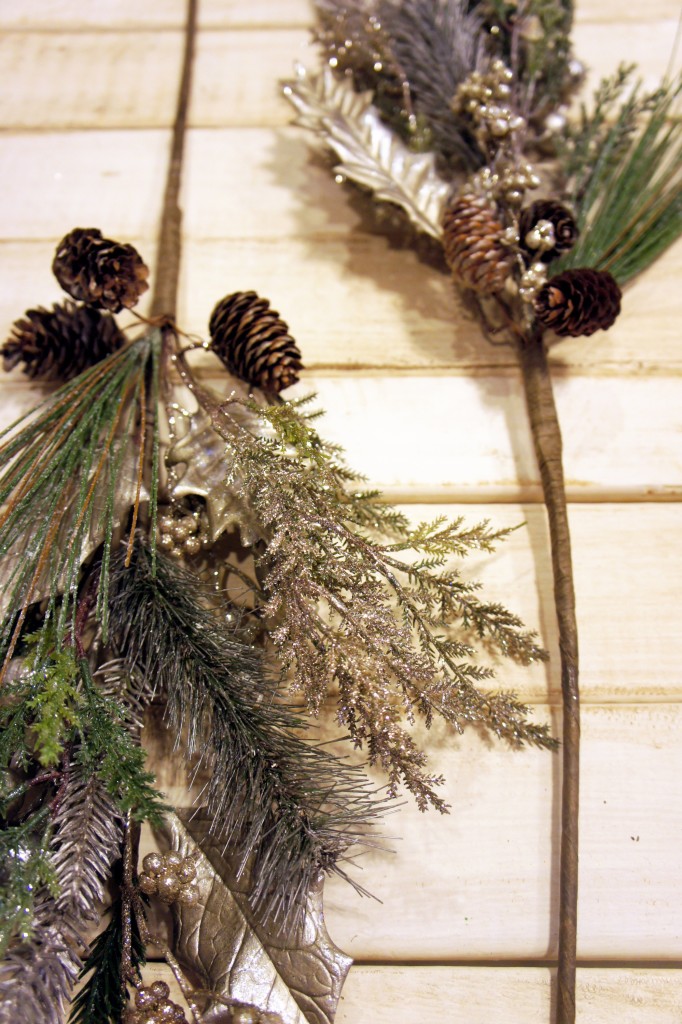
- Greenery – How many branches you need depends on what size wreath you get. My wreath was a medium size, so I went with two frosted picks with small pinecones (top left)and then two larger picks that had a lot of sparkle and glitter ( on the right!) Check your local Hobby Lobby, Michael’s Art Supply, or design shops to find similar picks of greenery.
- Woodlands Critters – I choose a large owl – that had a frosted, snowy covered tail. I also picked up a snow squirrel ( but didn’t end up needing it in the wreath.)
- Wired Ribbon – I got this ribbon from Michael’s Art Supply. Always make sure the ribbon is wired. The trick to a good bow is the wire that helps it stay in place.
- Scissors, Glue Gun, Wire Cutters, & Wire
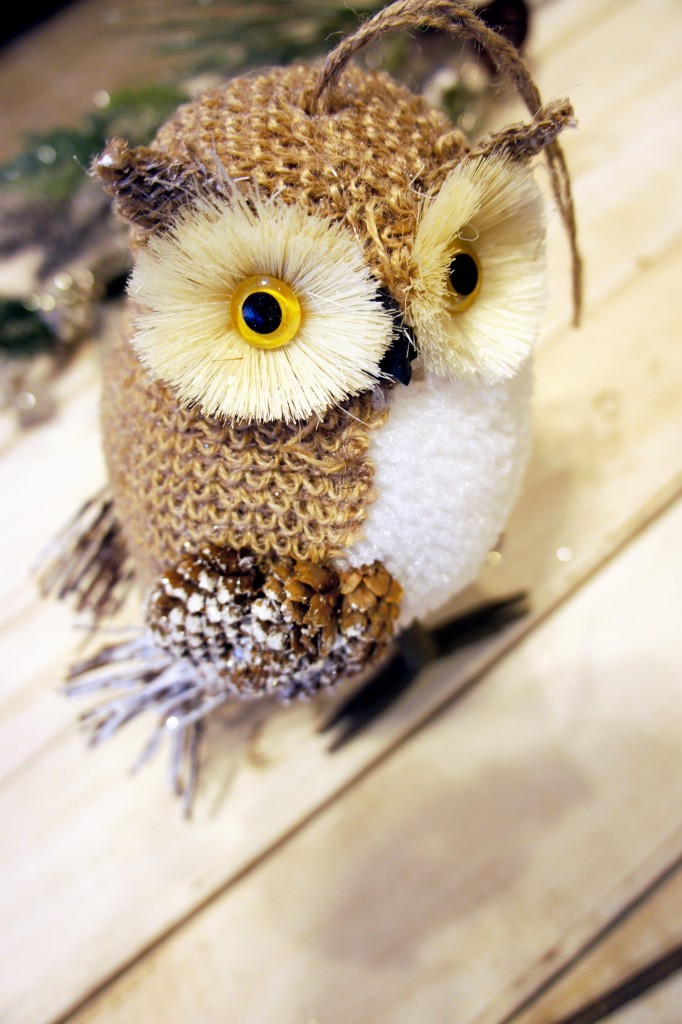
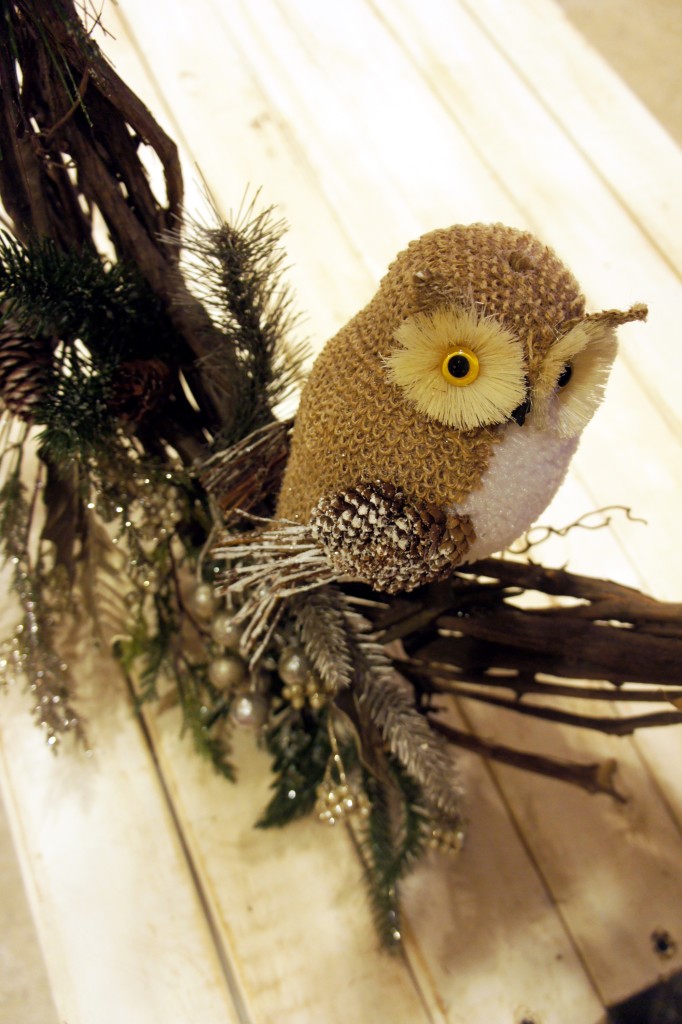
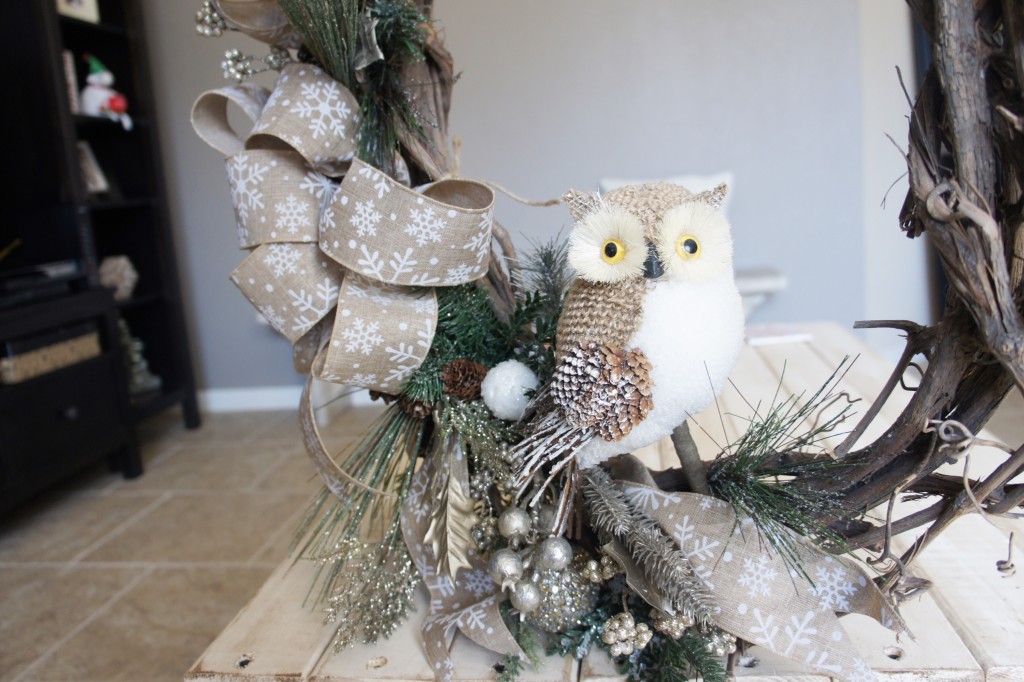
 Hereis a close up so you can see just how cute this little owl is!
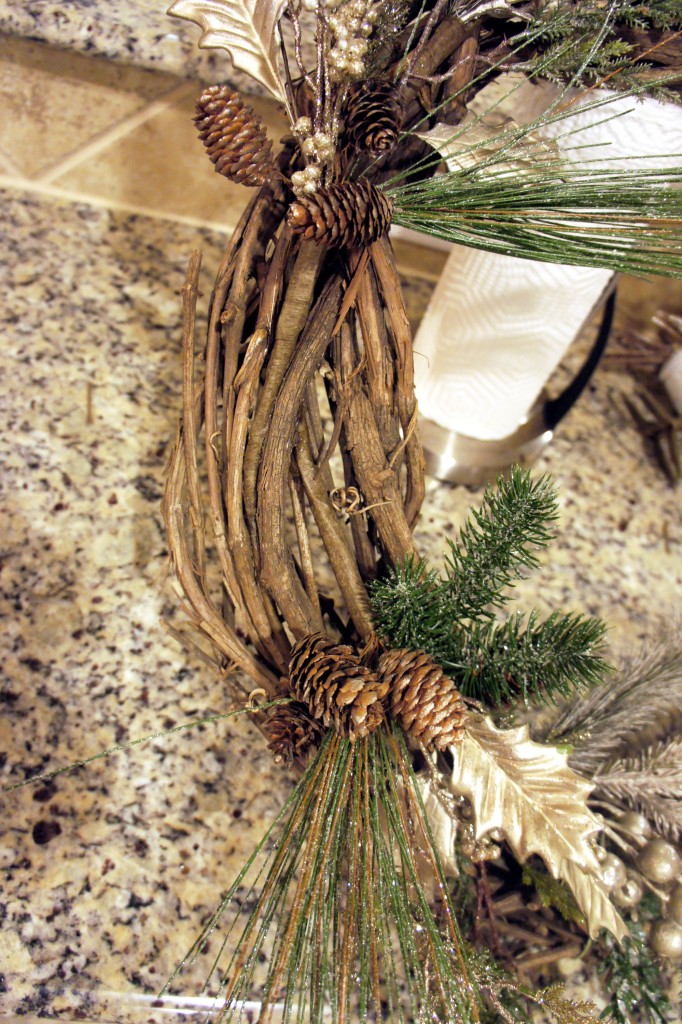
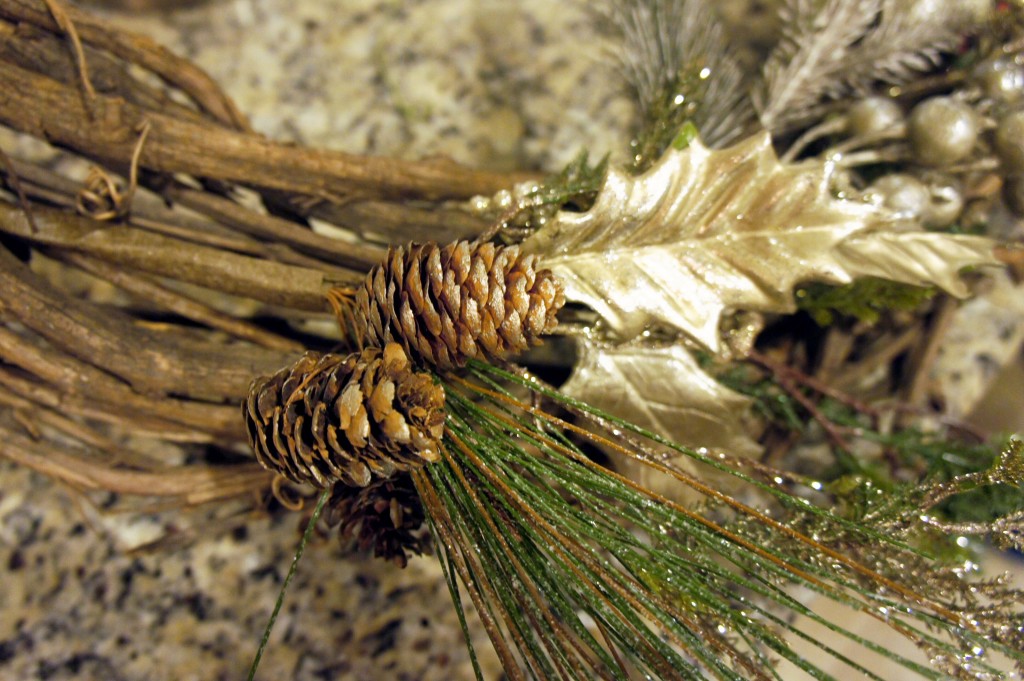
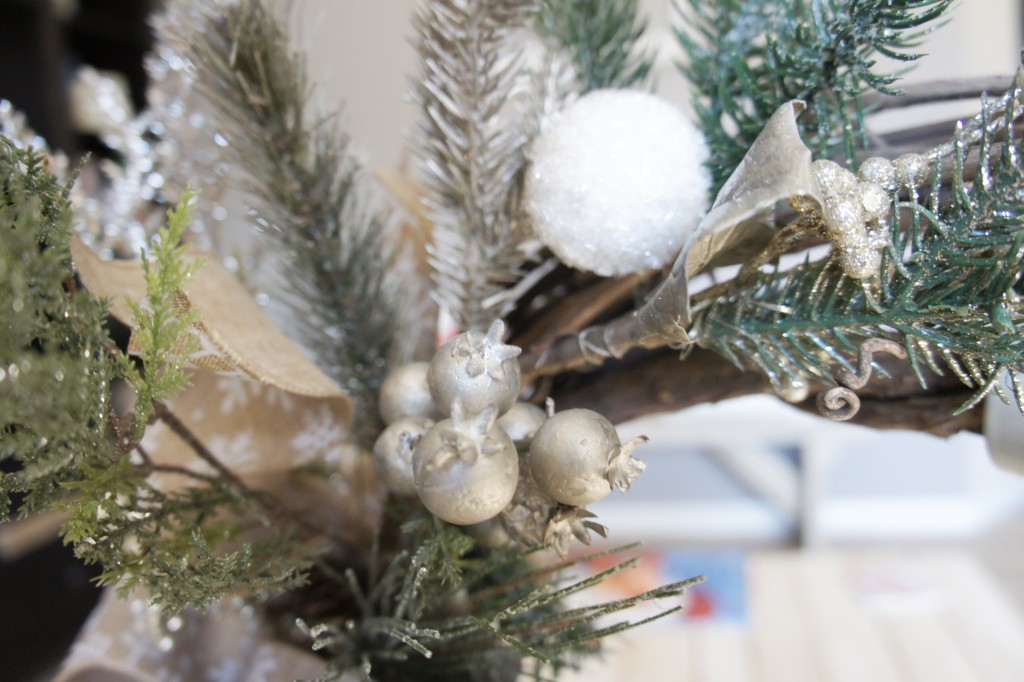
I thought these greenery picks were just gorgeous! I loved thevariety of greenery they had in them and of course I love anything that glitters & sparkles!
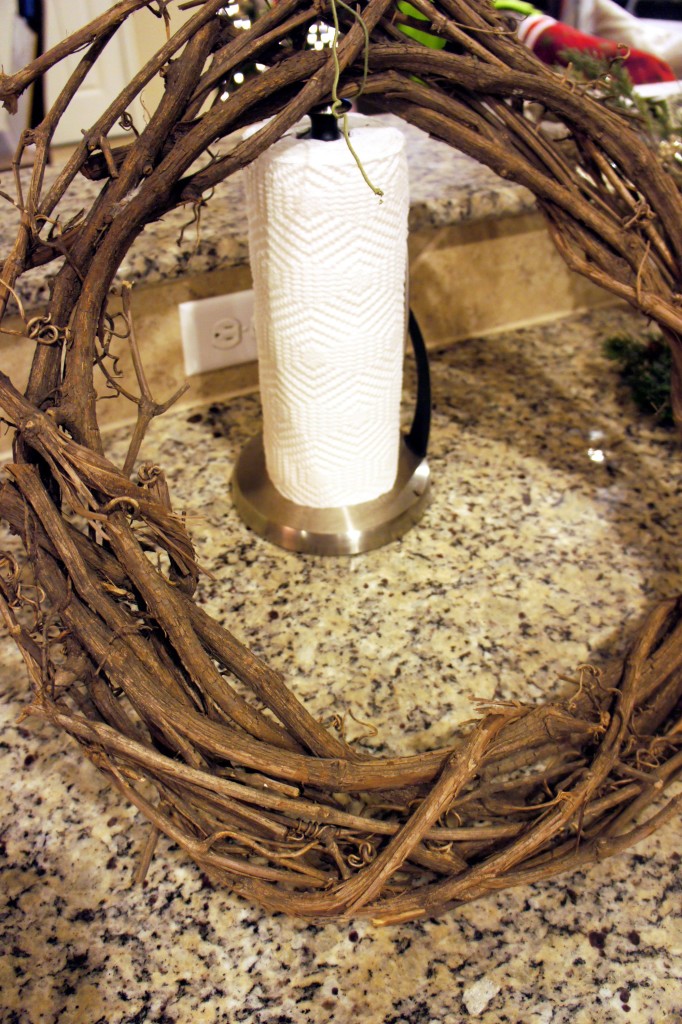
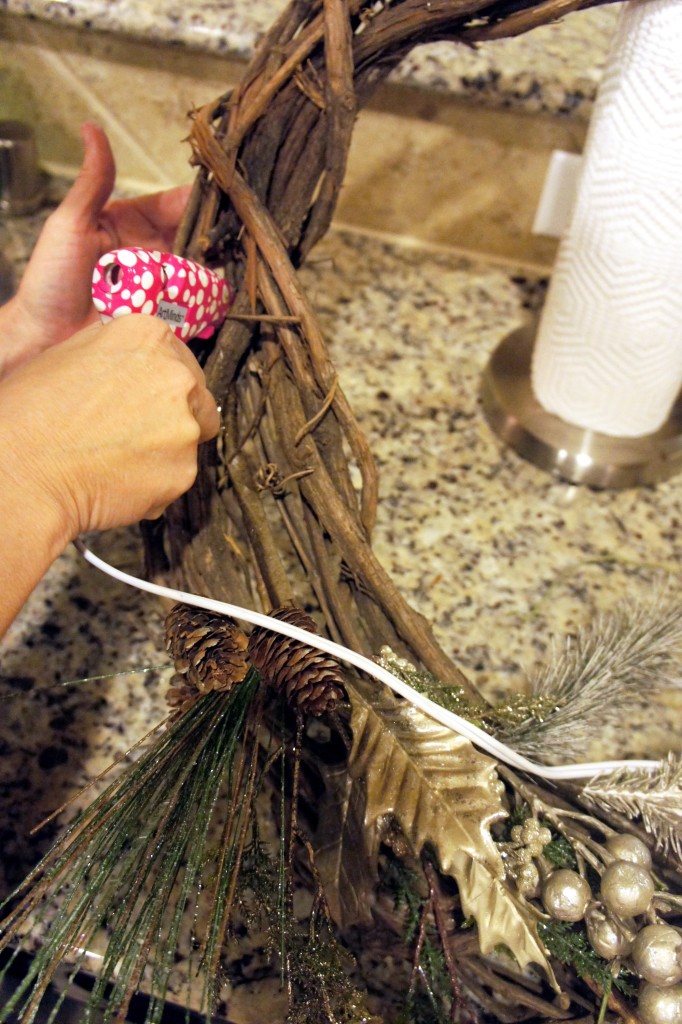
This is not a glamorous picture, but it’s real life, behind the scenes wreath making. It’s easier to work & see the placement of everything when the wreath is propped up. So, we used our paper towel holder to prop the wreath up to give us a better angle to work with.
Notice the wire at the top of the wreath. We used wire to tie the side of the wreath that was starting to unravel a bit, to help hold it into place. At this time, you need to look at your wreath and if there are any awkward areas (sometimes the wreath will not be symmetrical) you decide which area will be the top of the wreath and which will be the side that is hidden. ( I chose the unraveled side to hide.)
You want to start with the biggest pieces on the wreath first. So, I started with the larger glittery greenery picks. Once you have found the placement, wedge your pick into the grapevine and then hot glue the jointsto keep intact.
This is the bottom view of the wreath, with the first greenery pick in place.
Then we took the second large greenery pick and put it up high on the left side of the wreath. There will be a gap in the middle of the two greenery picks. (Tip:Set the picks in place on the wreath at the same time before hot gluing to make sure they are not too far apart.)
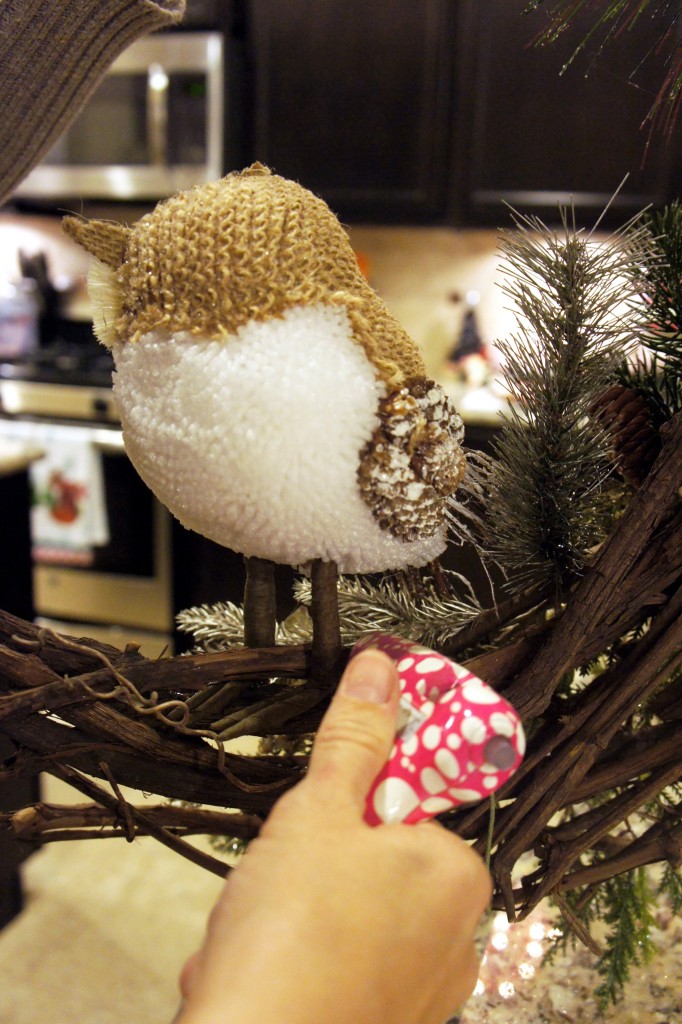
Now, go back and add your Owl (or the Woodlands critters in) I didn’t mention this above, but since I used a larger owl I only needed one animal as the focal point. If you chose a smaller animal you may need to get two and I would make them different sizes, to give it dimension. Regardless, of what you chose, figure out where you wantit to sitinside of the wreath. This owl had a really pretty frosted tail, so I wanted to make sure that the tail showed and wasn’t hidden in the wreath.
Then hot glue him in place.
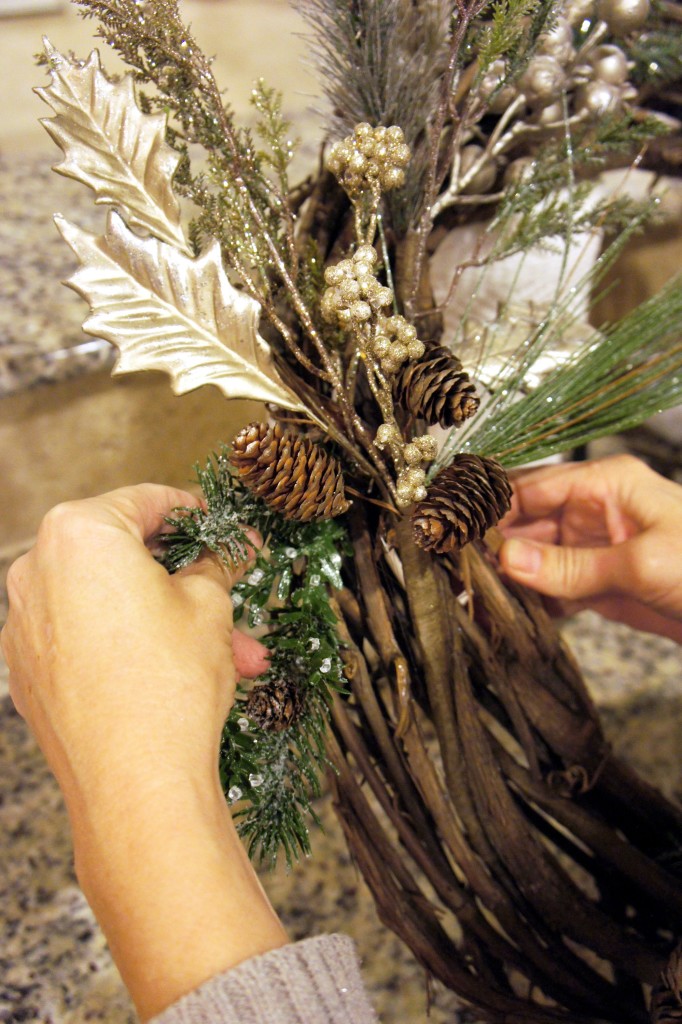
The next step is to take the smaller greenery picks and fill in the spaces that need to be fuller. We used wire cutters and cut the branches apart and then hot glued the ends into the areas of the wreath that looked sparse. Once you place the branch, you will need to hold it down to make sure it secured.
Be really careful to not burn yourself – you can use an extra branch or stick to hold down the end, so you don’t accidentally burn your fingers! That glue gets HOT.
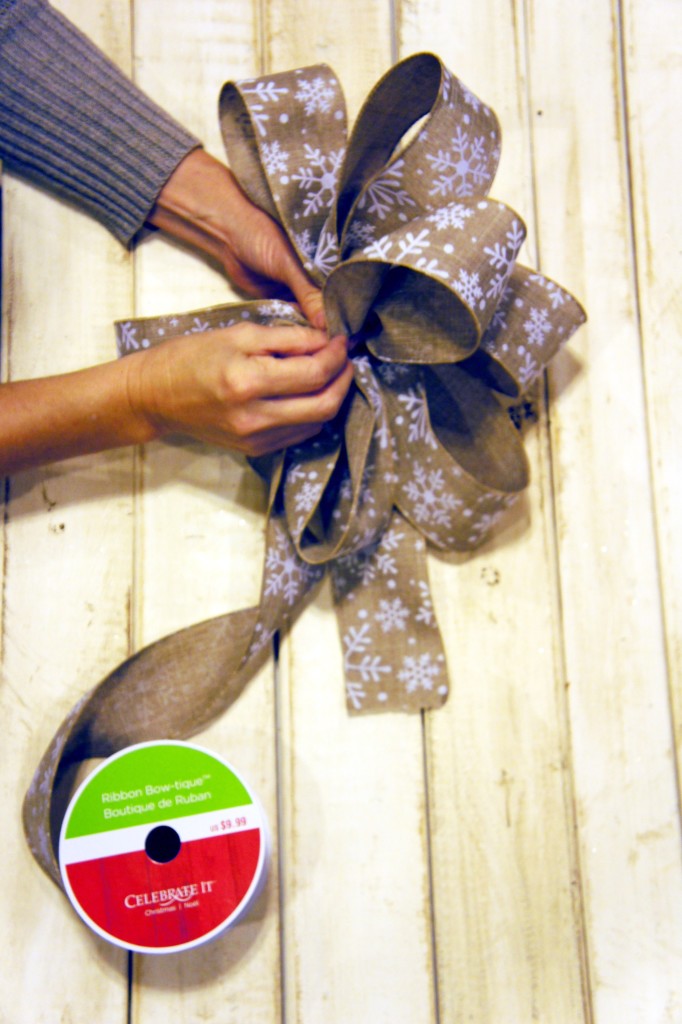
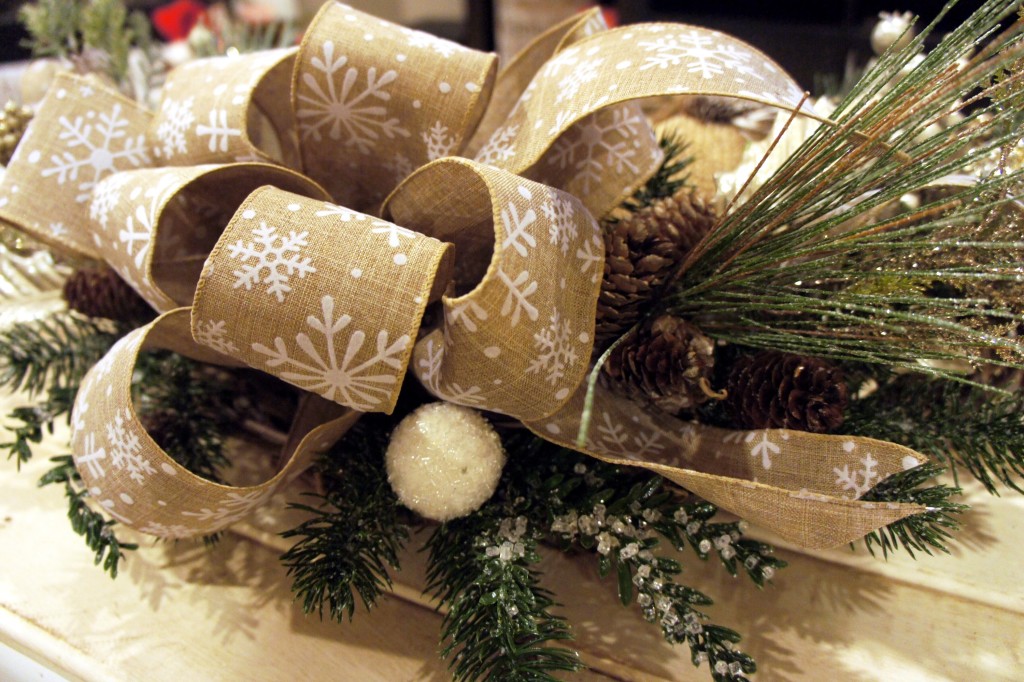
Now its BOW time! ( My favorite time) You want to take your ribbon and make sure to leave a tail ( see the piece that is laid flat on the table) about that long. Then create a lope and twist before starting another loop (larger on the outside and as you start to move to the inside of the bow, make them smaller) Once you feel like your bow is full enough, use another pice of ribbon to tie the bow onto the wreath. This is kind of complicated to explain, so I decided I will post a video next week to show how I make the bows, so stay tuned!
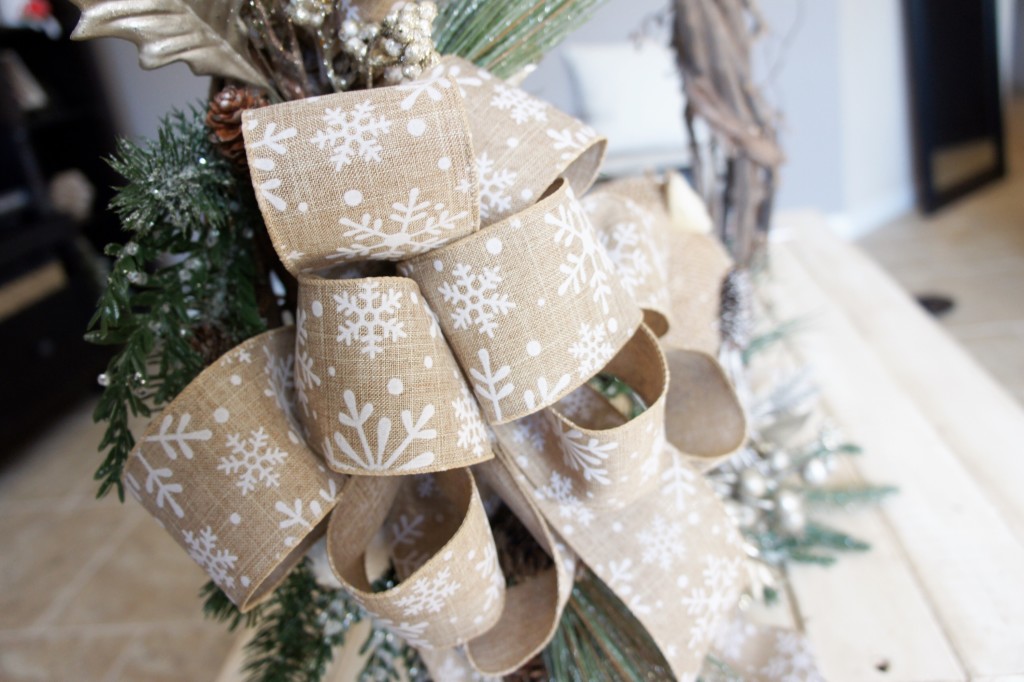
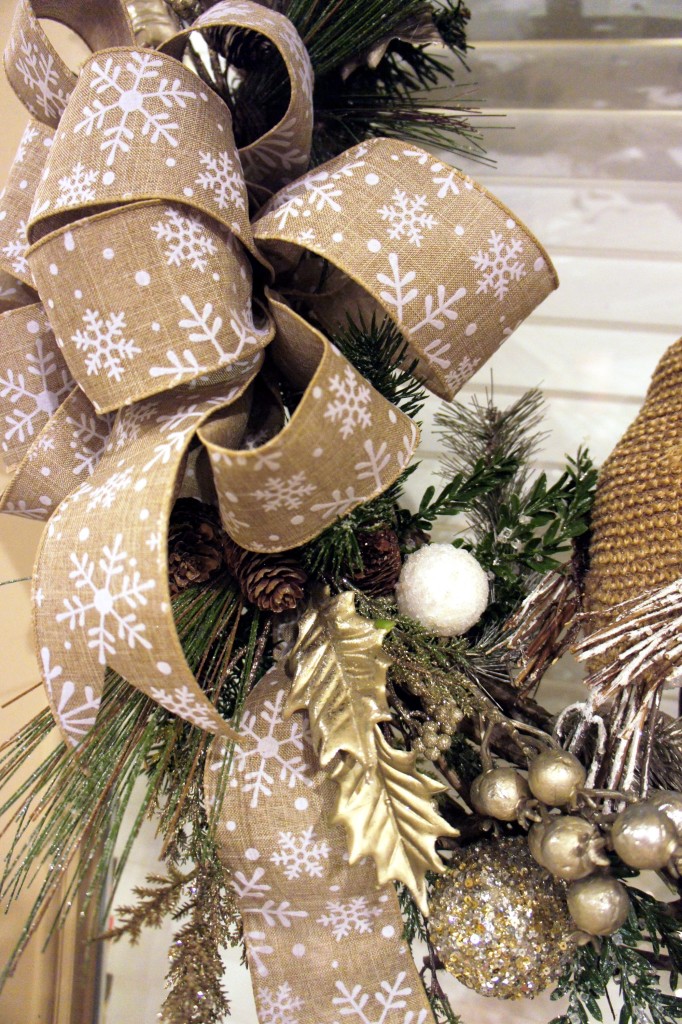
Place the bow into the empty space that was on the left side inbetween the two greenery picks. This is a side view of the bow on the wreath.
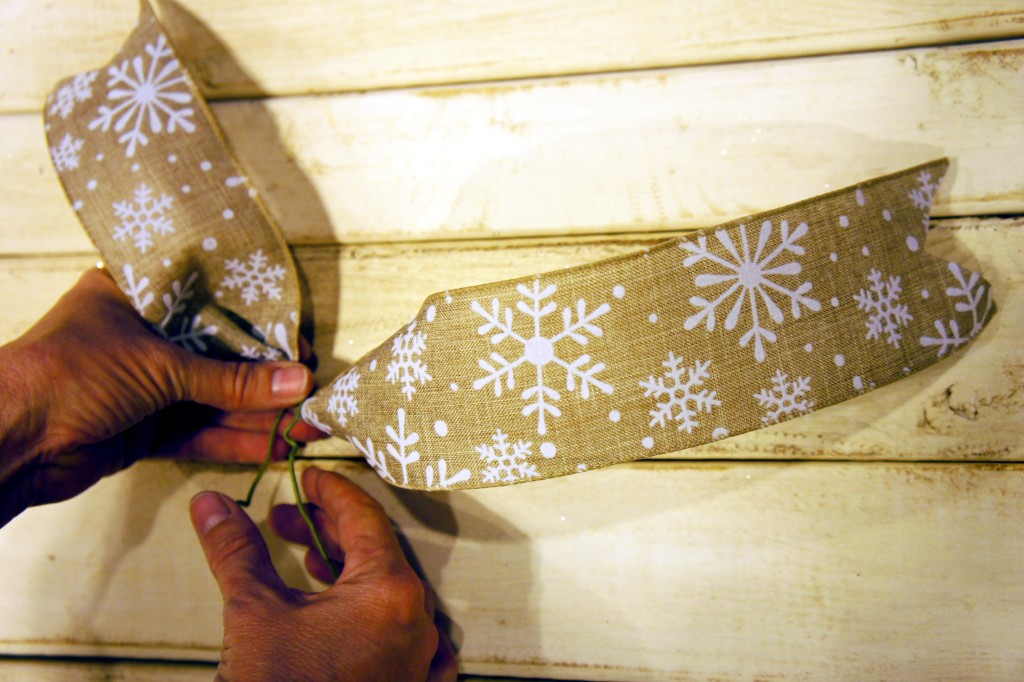
If you have any gaps left, you can use a smaller piece of ribbon to fillin. I cut a small piece and then used wire to attach the ribbon to the wreath and hold in place. ( Notice the ribbon tails – I like to cut the tails like this)
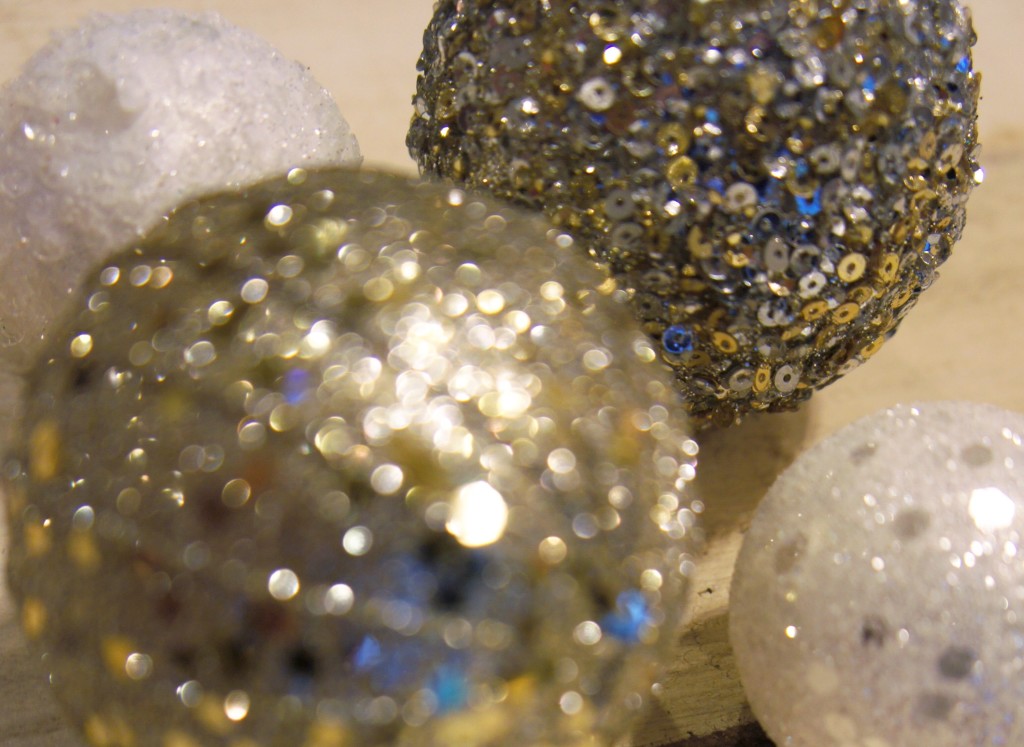
The final touch was to add even more sparkle and glitter. These little balls came in a pack from Michael’s Art Supply and really were a nice finishing touch!
I just hot glued the little snow balls throughout the wreath.
The snow balls just added that wintery feel, I was going for ! They really made this wreath.
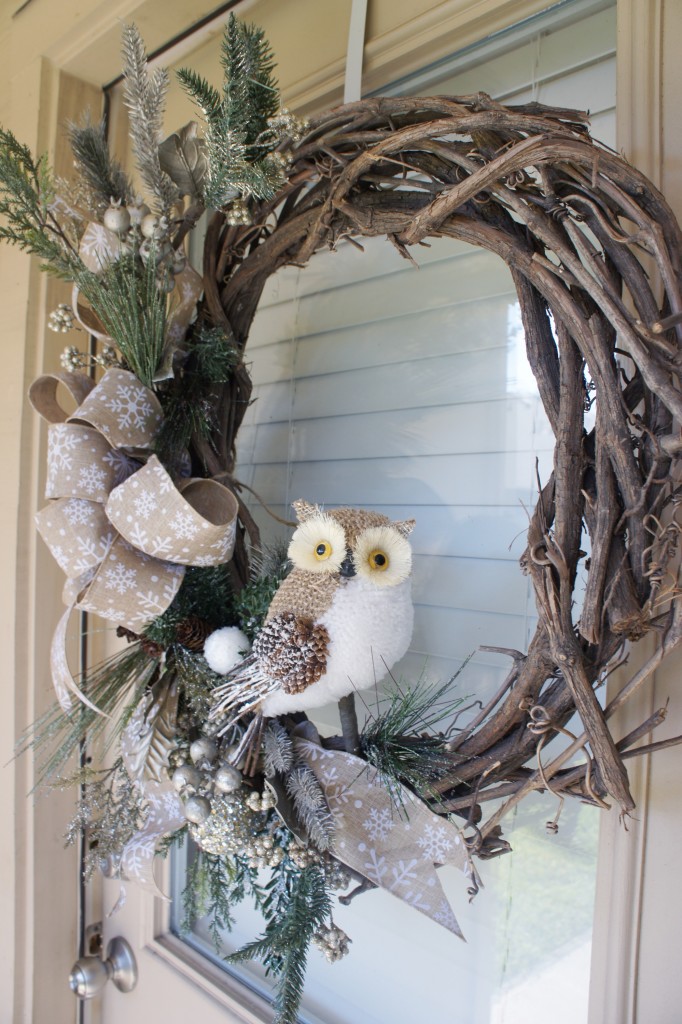
This was such a fun wreath to make! My Mom and I had a blast. She put up with me throughout the entire process stopping to take pictures and to document each step! I hope you enjoyed this diy. If you decide to tackle making a Winter Woodland Wreath, I would love to see pictures. Tag us on Instagram and Facebook and use #ourmessytable.
Lindsey



 Door hangers with personality. This fun weekend craft is easy to personalize and nice bonus for any guests that come to visit.
  Donut Worry and play poker with these adorable DIY Donut Poker Chips.



1 Comment
Leave your reply.