
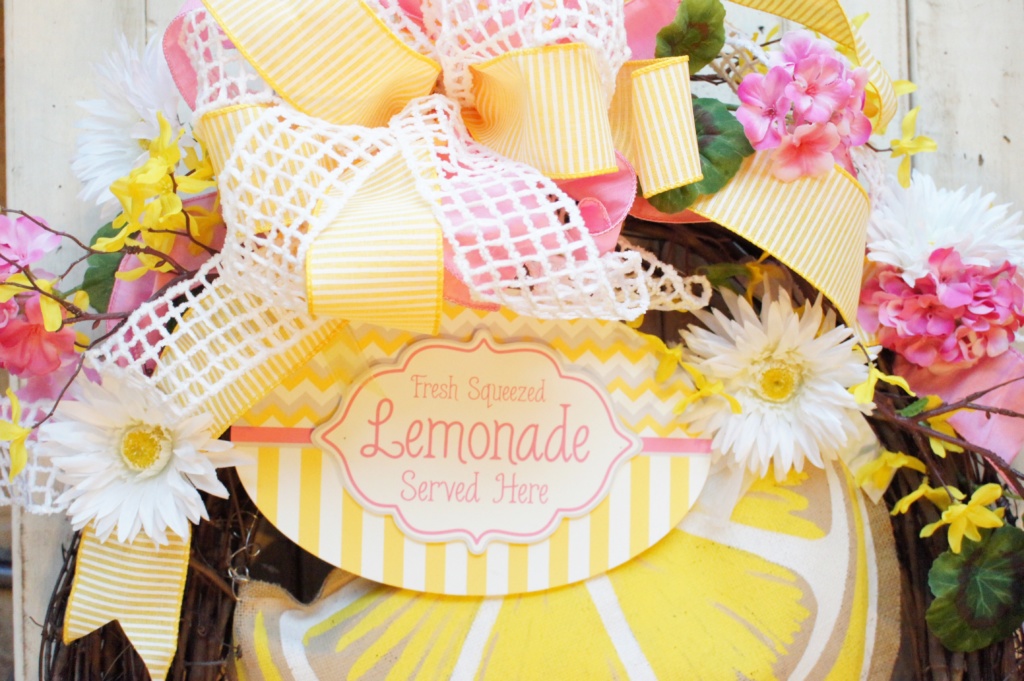
Lemonade Themed Summer Wreath
Hope you all are having a great Summer! I wanted to share with you my Lemonade Themed Summer Wreath that I made for my front door this Summer. Even though it is mid-July, it is not too late to make this wreath. You can leave it up through all of August too (plus the Summer decor is most likely all on sale!)

Lemonade Themed Summer Wreath
Supplies:
- Grapevine wreath
- 1-2 focal pieces: for this wreath, I chose the “Fresh squeezed lemonade sign” and the large burlap ribbon. I found both of these from Hobby Lobby.
- Wired Ribbon: I chose a pink, yellow striped, and a textured white ribbon. You can chose any patterns you want, just make sure you are buying wired ribbon. (otherwise, the bow won’t form correctly.)
- Artificial Flowers: I chose yellow, white, and pink flowers.
- Wire
- Hot Glue Gun

Step One:
You want to attach the large focal point pieces first. So, I attached the large burlap lemon to the center of the grapevine wreath. I wanted it to be a little at an angle.


Step Two:
I then wired the Fresh Squeezed Lemonade Sign to the wreath, allowing it to overlap on the burlap lemon.

Step Three:
The next step is to create what will be the “tails” of your bow. You can make these however long you desire. I took all three ribbon colors and layered them on top of each other. Before you cut the ribbon, hold the middle up to the center of the wreath and let the ends fall down on either side to determine if you need the ribbon to be shorter or longer on either side. I let the ribbon fall about half way down the wreath (you can always go back and make them shorter if you need too.)
Once you have the ribbon the length you want it, then use the same piece of wire and attach it to the sign in the center of the wreath.

Step Four:
Leaving a little ribbon left a the bottom, I bunch the ribbon and hot glued it in place. Then I added a flower.


Step Five:
It is time to add the top of the bow! Here is a video I shared last year on how to make a Christmas bow, but it is the same concept. You will make “loops” with the ribbon, the only difference is you will be using all three ribbon, instead of the one in the video. Don’t get discouraged if you have to do this several times! It may take a few tries, but that is the great thing about wired ribbon – it allows for you to make mistakes and just flatten it out and start over. Once you have your bow ready, then you will tie it onto the left over wire from earlier.
When you are tying the ribbon to the wire, the loops may get a little smushed. Don’t worry! Just go back through and fluff out the ribbon, when you are done.

Step Six:
Now that the bow is in place, you can go back and add in the flowers! I chose a long stem of yellow flowers. I placed it very close to the top of bow and let it come down along the right side of the wreath. To secure the flowers in place, I first wedge the stems into the grapevine wreath and then hot glue the ends in place.

Top view of the bow and flowers

That was the final step! You can just back through and fill in spots that look bare by hot gluing the flowers in and around the bow.


I purposely made my bow a little off centered and lean towards the left side. In order to balance the wreath out, I had the flowers come down farther on the right side.


I hope you enjoyed this DIY Lemonade Summer Wreath as much as I did making it! If you have any questions or need any help when making it yourself, just let me know! I am happy to answer any questions you have.
Thanks for stopping by!


POPULAR POSTS
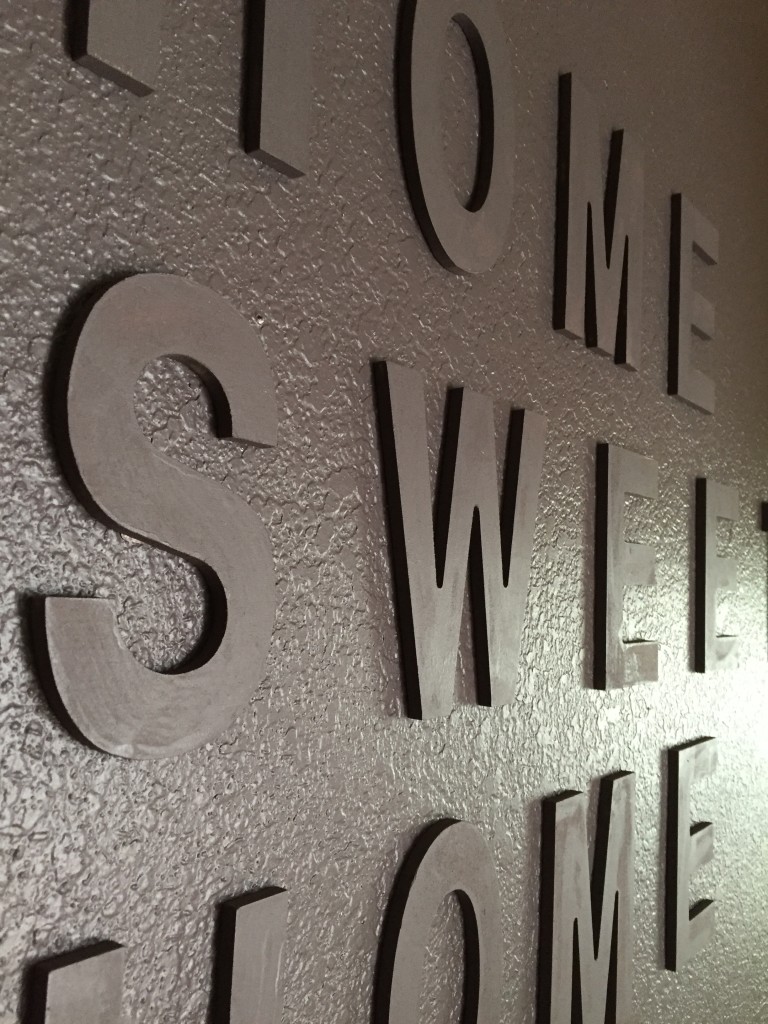 The entry way of a home serves as the welcome center not only for you and your family but also for any guests that visit. This easy monochromatic letter wall project will create a perfect welcoming feel to all who enter your home.
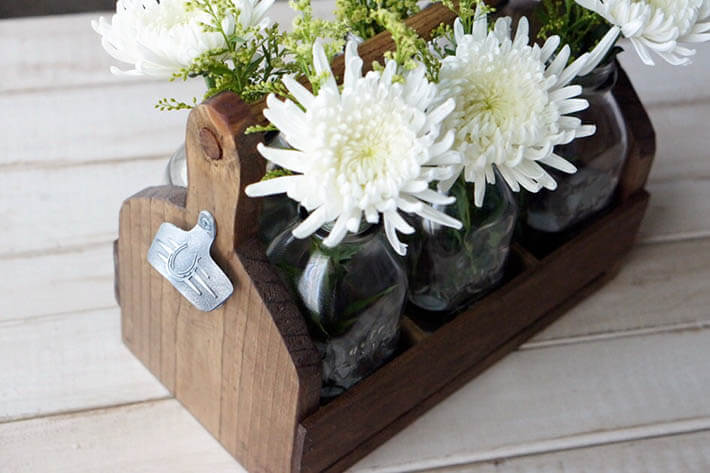 This Vintage Wooden Tote has that perfect rustic farmhouse feel and makes for a very easy weekend DIY project.
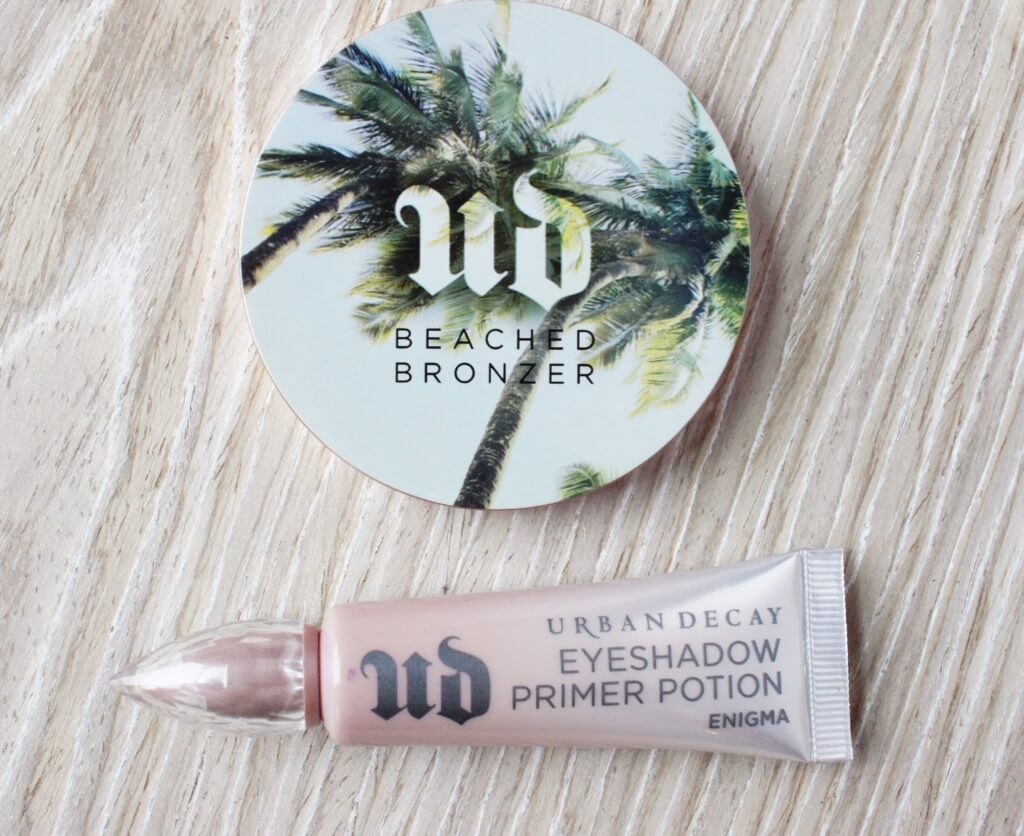 Hey y'all! I was gonna save this May/June Beauty Favorites 2016 post for Friday Favorites... but I just couldn't wait another day! Here are a couple beauty products I have been loving the last two months!


4 Comments
Leave your reply.